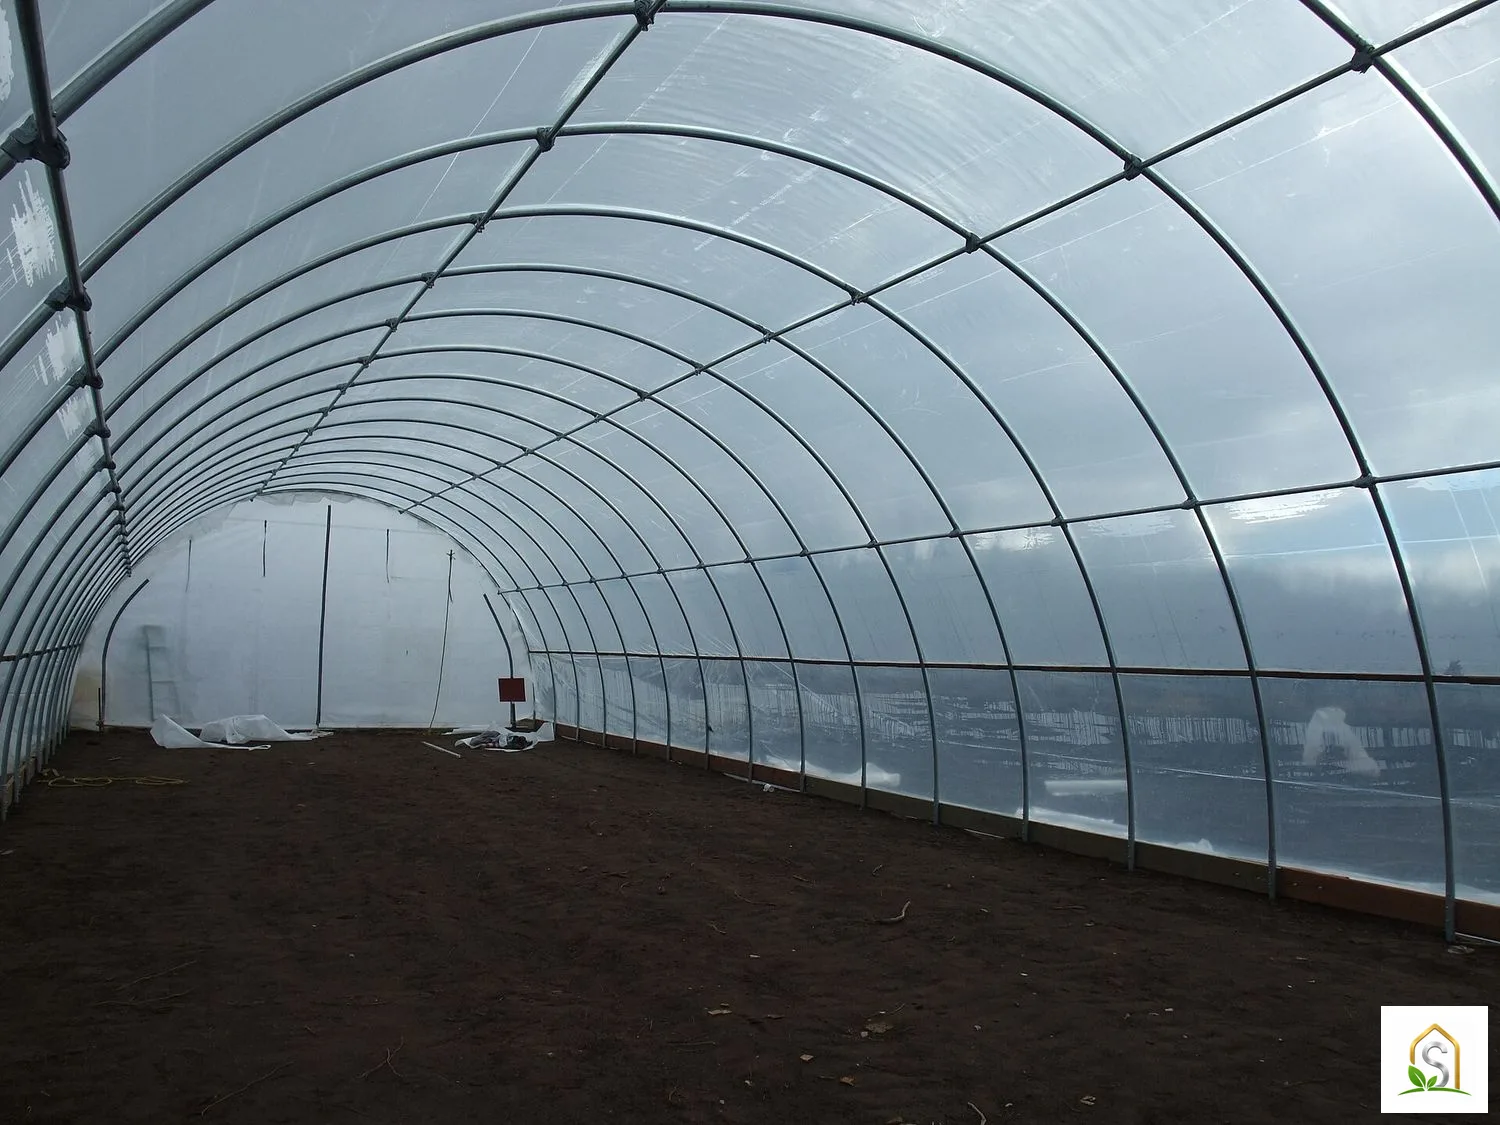
A tunnel greenhouse is a walk-in growing structure with repeated arches and a flexible cover, typically greenhouse-grade film. A high tunnel or hoop house usually relies on solar warmth and natural ventilation for season extension. Polytunnel is another common name for a film-covered growing tunnel. To understand how a particular structure will perform, check its frame, usable side height and ventilation openings.
- Compare ground-to-ground and raised-sidewall frames at working height.
- Specify the cover, ventilation and drainage together.
- Check site loads, connections and anchorage before assembly.
The greenhouse structure types guide compares tunnel greenhouses with other structural forms.
What is a tunnel greenhouse?
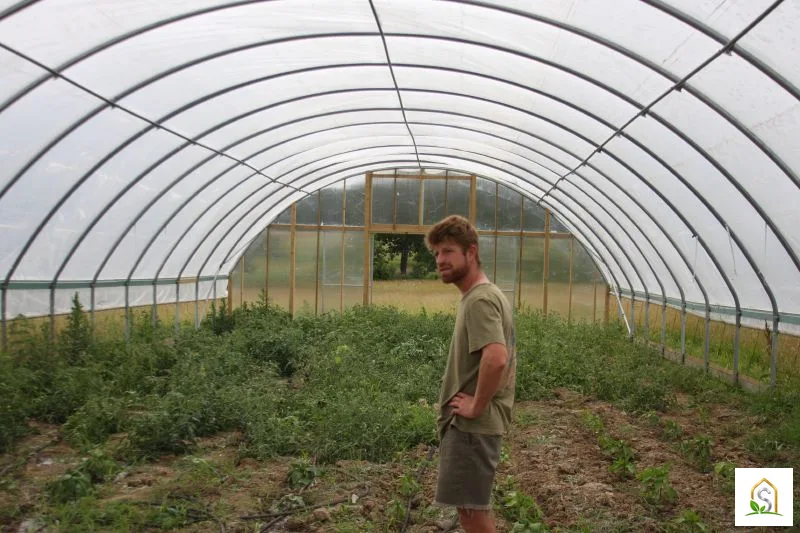
A walk-in high tunnel allows routine work inside the structure. A low tunnel covers plants close to the ground and usually needs to be lifted or opened for access. “Tunnel” describes an arrangement of growing space; “Gothic” and “round arch” describe cross-sectional shapes. A freestanding tunnel can therefore have a Gothic roof.
Extension literature commonly describes high tunnels as solar-heated, naturally ventilated structures. Suppliers may also use “tunnel greenhouse” for structures fitted with heaters or mechanical ventilation. Ask for the structural specification and climate-control scope separately rather than relying on the product name.
The cover shelters crops from direct rainfall and wind, but does not by itself guarantee suitable temperatures throughout the year. Irrigation must also suit protected production because rainfall no longer directly waters the beds.
High tunnel, low tunnel and climate-controlled greenhouse
| Structure | Access and typical use | Environmental control |
|---|---|---|
| Low tunnel | Cover over one or more crop beds, accessed from outside | Vent by lifting or opening the cover |
| Walk-in high tunnel | Working aisles inside for crop care and harvest | Typically solar warming with manual or automatic openings |
| Climate-controlled greenhouse | Walk-in production space sized around the crop and equipment | Heating, ventilation or cooling designed for specified conditions |
The terms can overlap in supplier literature. A curved roof tells you about the frame profile. The opening layout, equipment and operating schedule tell you how temperature and humidity can be managed.
Types of tunnel greenhouses
Ground-to-ground Quonset
The arch begins near ground level and curves continuously towards the ridge. This simple arrangement can ease construction, but restricts usable height along the sides. Check the cross-section at crop and working height, rather than planning beds from floor width alone. Plants, workers and equipment must remain clear of the film.
Raised-sidewall tunnel
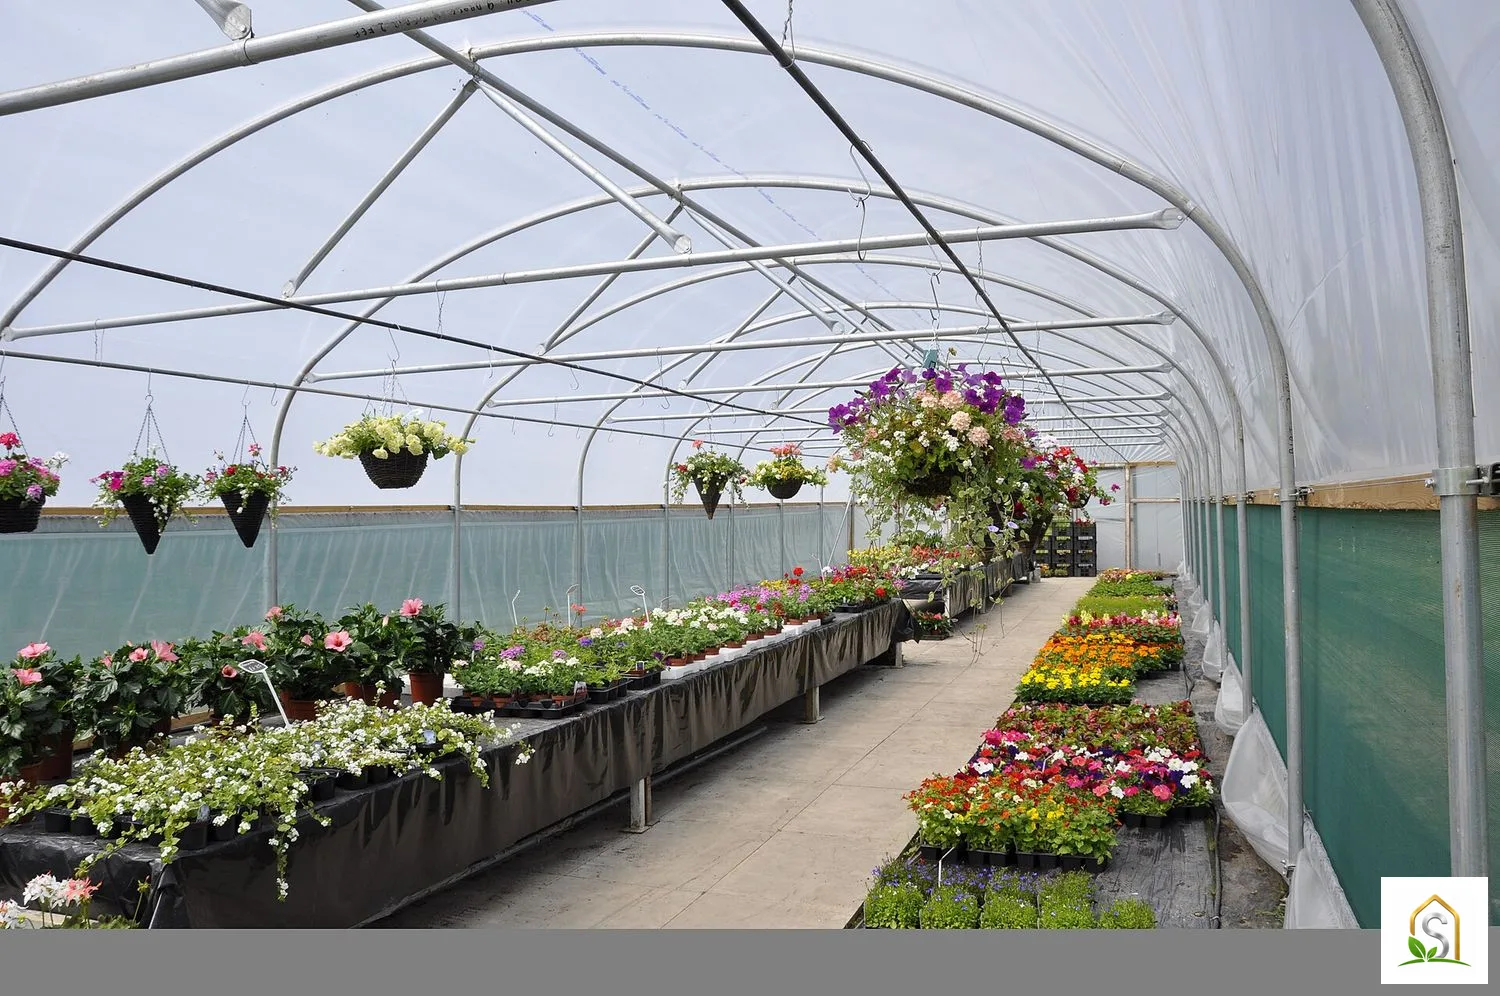
Raising the arch supports can provide more side clearance and taller ventilation openings. This is a structural change: increased height and exposure must be reflected in posts, connections and bracing. The example below shows hanging containers; their presence is not permission to suspend comparable loads from another frame.
Single-unit tunnels and groups of tunnels
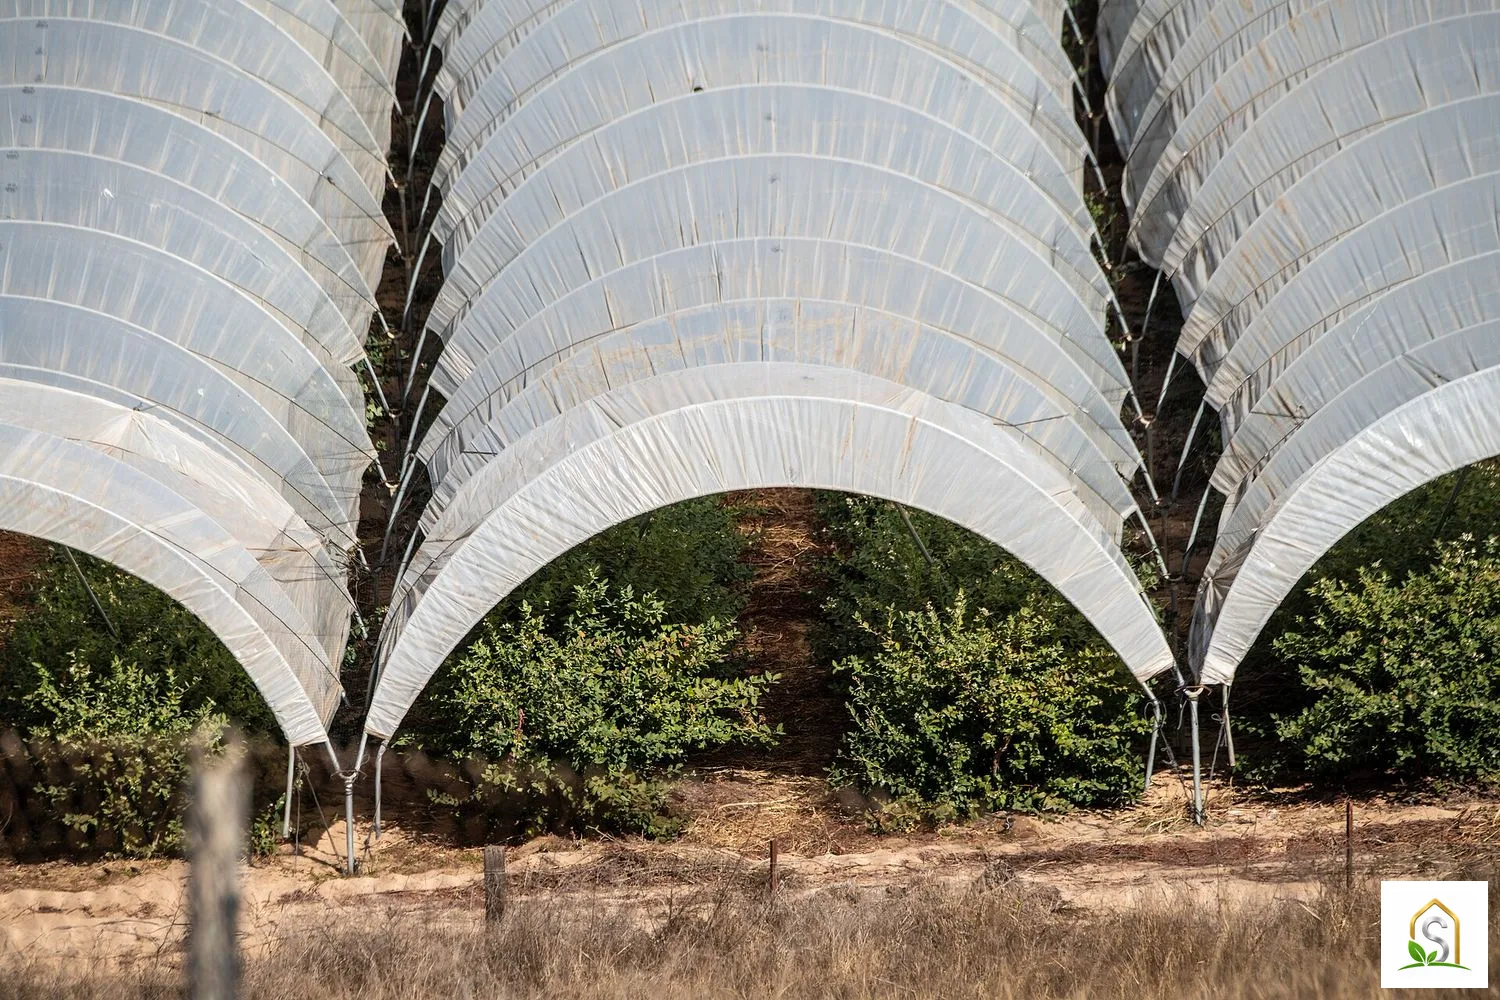
A single-unit tunnel is a freestanding growing hall. Several independent tunnels beside one another differ from a connected multi-bay structure. Shared gutters, supports and ventilation paths require a coordinated design. A photograph of adjacent covers alone cannot establish whether their structures are connected.
Gothic and movable tunnels
A pointed Gothic profile can be used for a freestanding tunnel. Steeper roof portions may help snow shedding, but roof shape alone does not establish snow capacity. A movable tunnel must be designed for relocation and re-anchoring. A bolted frame is not automatically a safe portable structure.
Choosing tunnel width, height and length
Choose the cross-section around the crop and working space. Start with bed widths, clearance for tools and the tallest crop at harvest. Check the roof height over the outer beds and the usable opening height along the sides. Hall length also affects how people and equipment enter, how air moves and how the growing area is divided.
| Drawing dimension | Meaning | Design check |
|---|---|---|
| Span | Distance between the main supports across the hall | Bed and aisle layout; usable width at working height |
| Ridge height | Highest roof point above the floor | Crop height, equipment and overhead clearance |
| Side clearance | Usable height near the wall | Access, film contact and ventilation openings |
| Bow spacing | Centre-to-centre distance between consecutive frames | Compatibility with loads, member sizes and connections |
| Hall length | Length of the growing space | Ventilation, access and operating divisions |
Geometry example only: an 8 × 40 metre hall has a 320 m² footprint. Actual cropped area is smaller after allowing for aisles and edge clearance. Five 8 × 25 metre halls would provide 1,000 m² of covered floor area, but require additional land for spacing, drainage and access. This calculation is not an installation design.
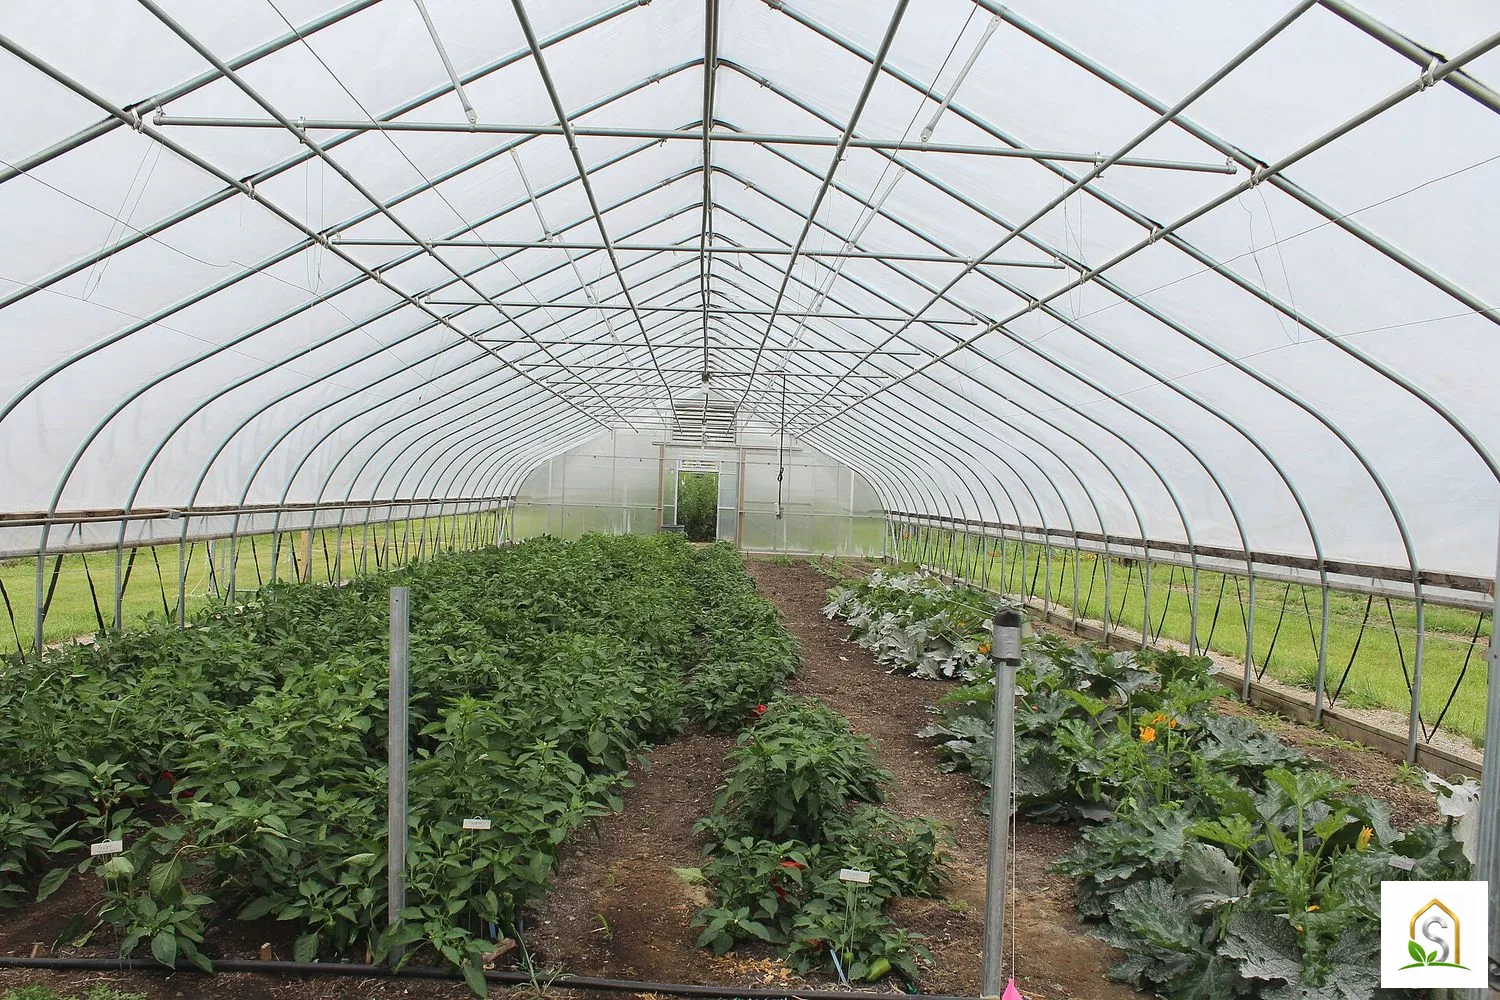
Frame components and the load path
The load path must remain continuous from the film attachment to the soil. Strong bows cannot compensate for weak anchors or a poorly connected end wall. A technical specification should identify the complete assembly rather than only total steel weight or bow diameter.
- Bows: the repeated primary roof frames.
- Purlins: longitudinal members connecting successive frames.
- Bracing: members transferring forces and controlling movement in the specified directions.
- Ground posts and anchorage: the connection to soil or foundations, including uplift resistance.
- End walls and doors: components affecting access, enclosure and wind behaviour.
- Film channels and fasteners: attachments that must avoid sharp edges and concentrated stress.
Record actual outside diameter, wall thickness, material and corrosion protection separately. Similar trade names do not guarantee identical specifications. Do not select wall thickness or embedment depth from a general internet table: compare measured dimensions with the approved design for that structure.
Film and ventilation must be selected together
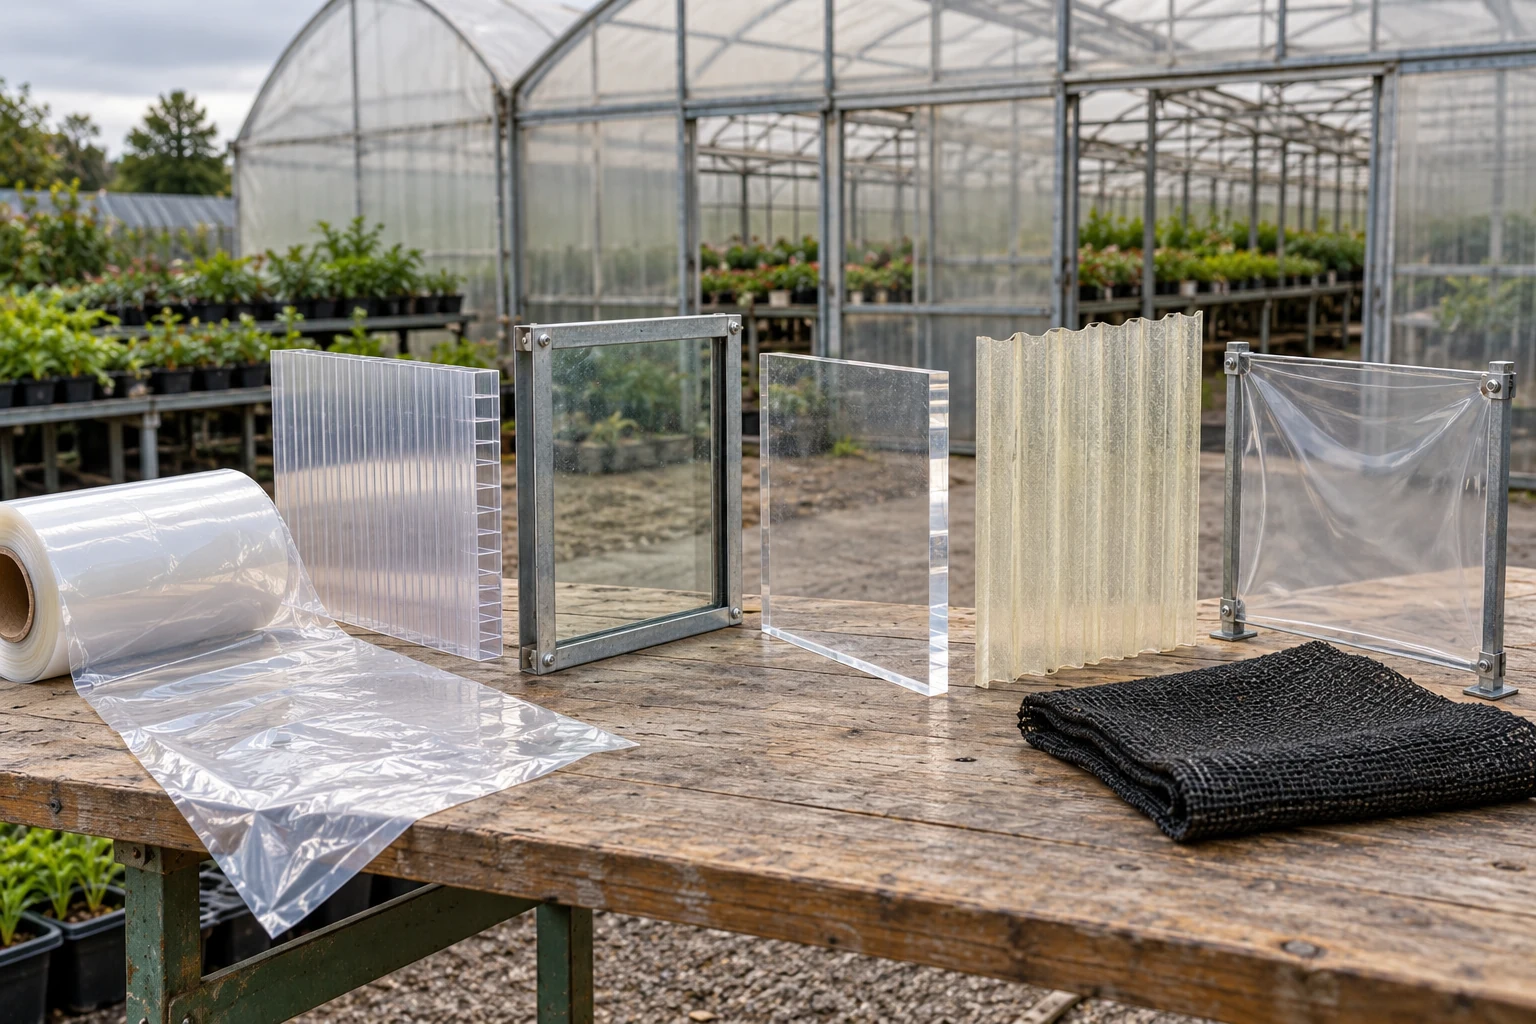
Greenhouse-grade polyethylene is widely used, but thickness, optical properties, ageing resistance and installation instructions must come from the actual product specification. “UV treated” does not establish a guaranteed service life. Our greenhouse covering guide compares film, polycarbonate and other options.
Roll-up sidewalls and end openings can support natural ventilation. Warm air can leave through the ridge only when a real high-level outlet exists: open sides do not create a roof vent. Insect screens, wind direction and nearby obstructions also affect airflow.
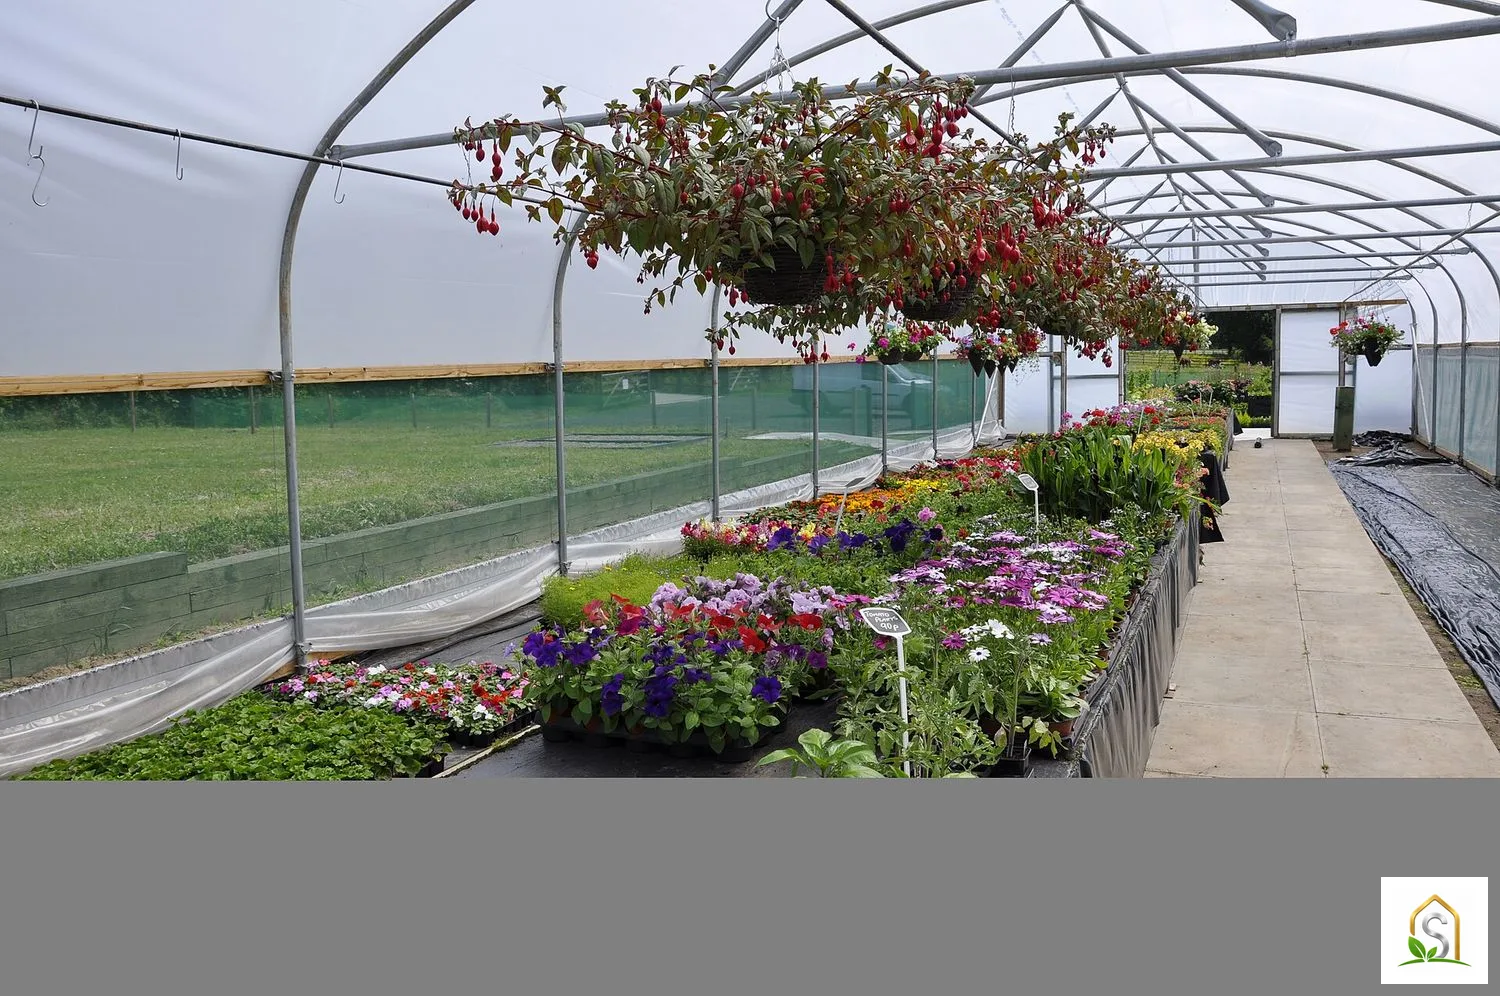
A circulation fan moves air within the structure; an exhaust fan is designed to exchange air with the outside. Cooling equipment must suit the heat load and local humidity. A small greenhouse still needs temperature and moisture management.
Wind, snow and anchorage limitations
An arched roof is not a wind-resistance guarantee. Pressure, suction, door position, end-wall strength and anchor pull-out all matter. Snow distribution, cover condition and suspended loads can also govern performance. UVM’s engineering guidance highlights the combined importance of framing, connections and anchorage.
- Request the design wind and snow actions, their units, site assumptions and operating conditions.
- Do not suspend crop support wires, baskets or equipment from bows unless their loads are included.
- “No concrete foundation” does not mean “no ground anchorage.”
- Route roof runoff away from posts and neighbouring structures.
- Storm and snow procedures must match the structural design and manufacturer’s instructions. Hazardous snow clearing cannot replace adequate design.
Raising an existing tunnel or adding trusses and cables changes its structural behaviour. These alterations need assessment by the structural designer rather than a generic strengthening recipe.
Installation stages and handover checks
- Define production: crops, season, working height and available water and energy.
- Assess the site: drainage, wind, shading, access and soil at anchor locations.
- Prepare drawings and quantities: members, connections, openings, anchors and film.
- Set out: check support positions, squareness, levels and drainage routes.
- Assemble the frame: install posts, bows, purlins, bracing and end walls in the specified sequence.
- Fit the cover: remove damaging edges and follow the film supplier’s orientation and fastening instructions.
- Commission: test doors, sidewall movement, irrigation and installed equipment.
- Document handover: provide the final drawings, installed specification, maintenance instructions and loading limitations.
This is a general checking sequence, not a substitute for the manufacturer’s assembly manual. See our greenhouse design and construction guide for the wider project process.
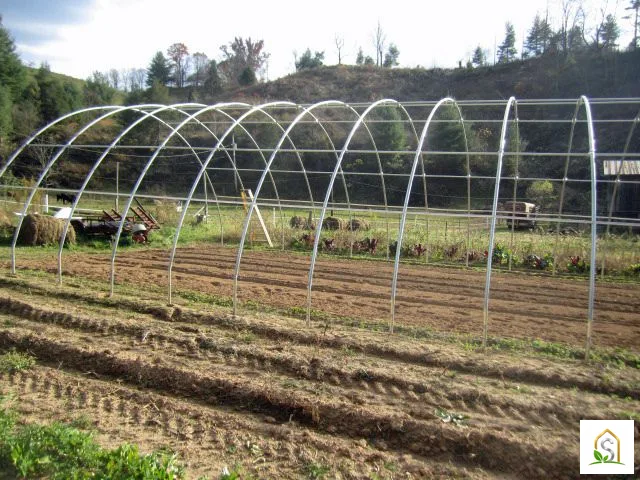
Small tunnel greenhouses and kit assembly
For a small walk-in tunnel, draw the beds, door swing and clear aisle on the same plan. Check whether the cover and side vent can be serviced from outside and whether irrigation lines can cross the entrance without creating a trip hazard. Allow an outlet for roof runoff so that water does not collect at the anchors or flow into the growing beds.
A tunnel greenhouse kit normally has a specified assembly sequence and limits for its frame and anchors. Check the drawing against the component inventory and the intended site before installing it. Changes to span, bow spacing, frame height, anchors or hanging loads need a structural assessment. Follow the supplier’s instructions for fastening and tensioning the film.
- Confirm that the frame, longitudinal members, braces and end walls match the assembly drawings.
- Check that the access route accommodates the tools, trays and carts used inside.
- Test the doors and sidewalls after the cover is fitted.
- For an existing frame, inspect corrosion at ground level, bends, extra holes and the completeness of connections.
Operating a tunnel through the growing season
Check temperature and humidity at crop height where the sensor is representative. Direct sun on a sensor, a position beside a door, or a stagnant corner can give an unrepresentative reading. On sunny days, open the available vents according to crop conditions and the design. In strong wind, follow the structure’s operating instructions for doors and roll-up sides.
Film intercepts rainfall, so irrigation inside and drainage outside are separate tasks. Check water delivery at the crop and observe where runoff collects after rain. Persistent wetting near posts or water flowing into beds warrants a review of site drainage. A separate guide explains greenhouse irrigation system design.
Comparing Quonset, raised round-arch and Gothic structures
| Decision factor | Ground-to-ground Quonset | Raised round arch | Gothic arch |
|---|---|---|---|
| Side space | Restricted by low-level curvature | Upright walls can improve usable space | Depends on support height and actual geometry |
| Ridge profile | Rounded, with a shallow slope at the top | Rounded roof on raised supports | Pointed, with steeper upper roof portions |
| Wind and snow | All require site-specific checks of members, connections, anchors and operating conditions | ||
| Ventilation | Depends on openings and layout, not the roof name alone |
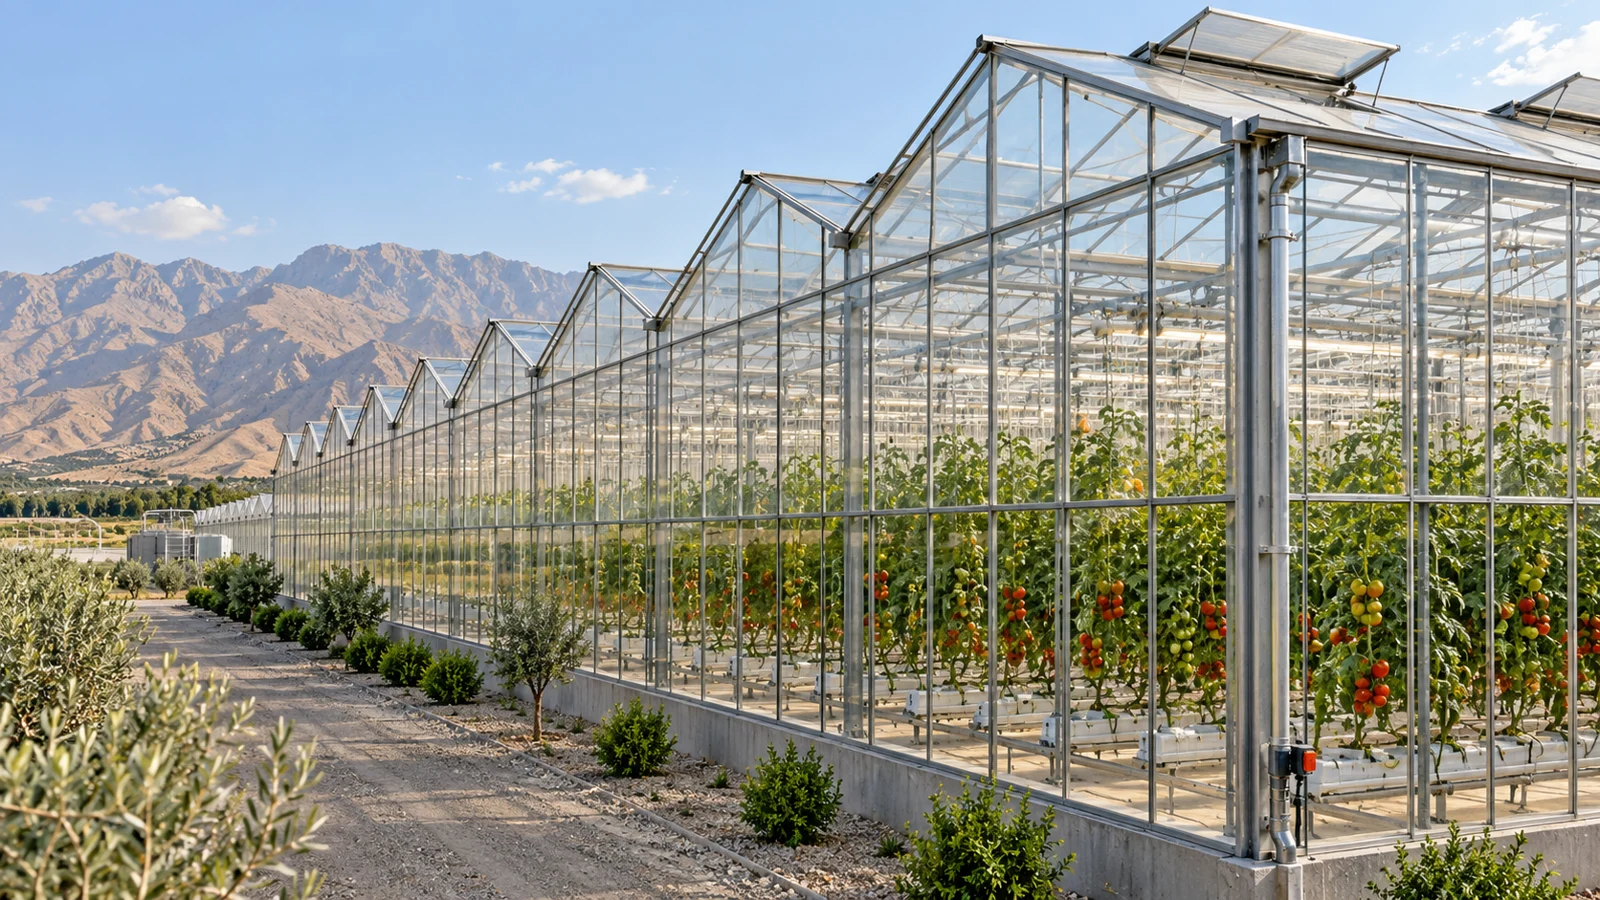
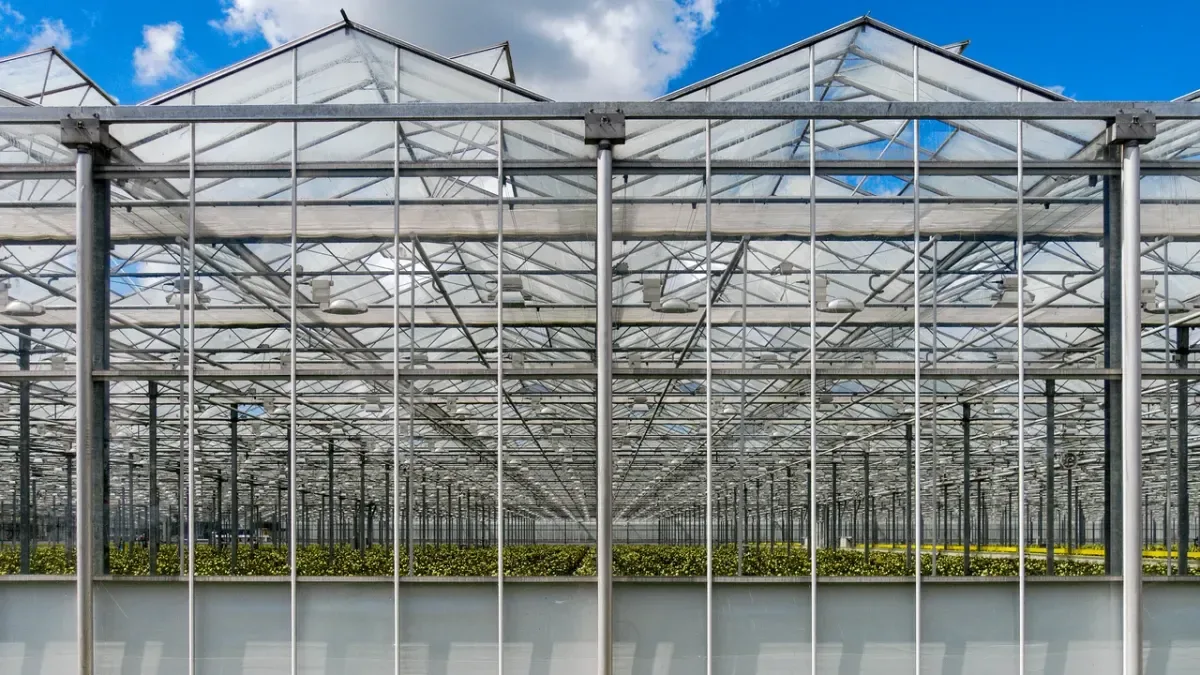
The following image is from the connected Gothic greenhouse project. Pointed ridges, upright walls and connected bays distinguish this example from a freestanding ground-to-ground tunnel.
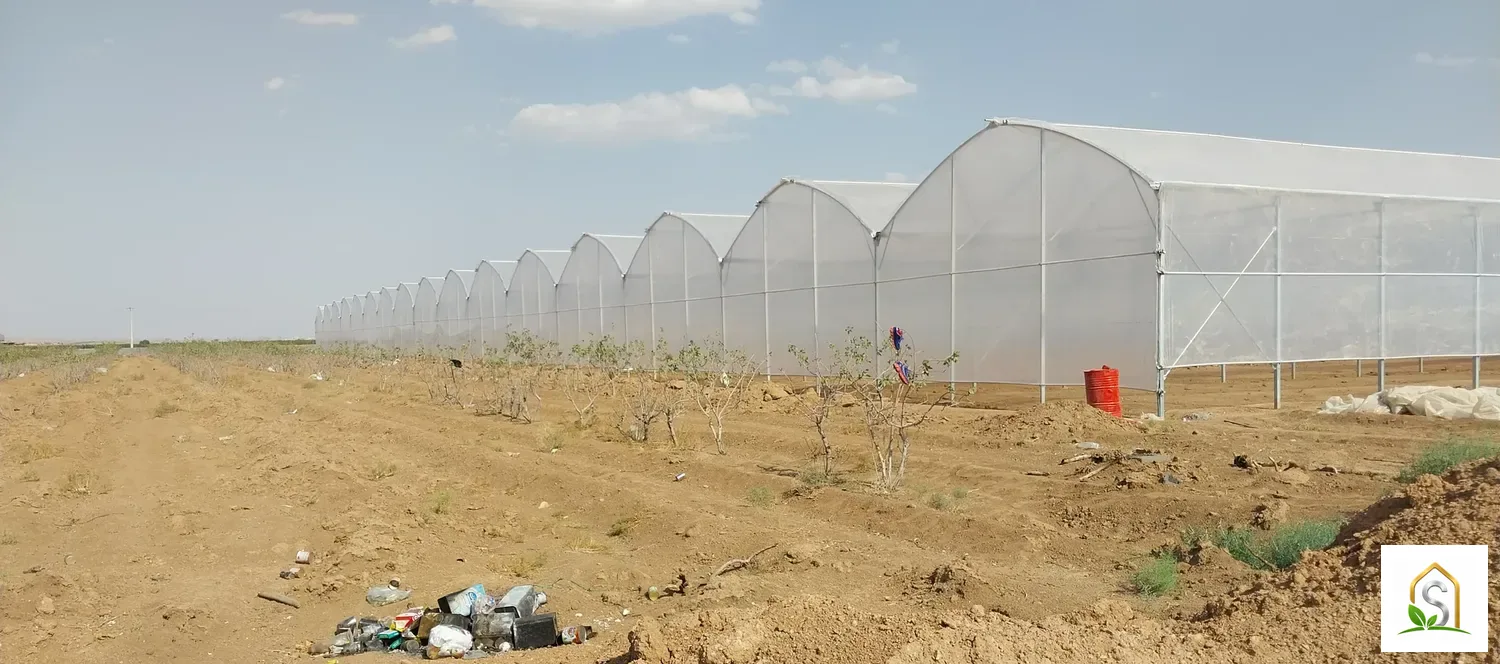
Frequently asked questions
Is a tunnel greenhouse the same as a circular greenhouse?
Not necessarily. A ground-to-ground Quonset has low-level curvature, while a raised round-arch structure has upright supports and may be multi-bay. A cross-section and layout are more precise than a trade name.
What are the best dimensions for a single-unit tunnel?
There is no universal size. Bed layout, crop height, access, ventilation and site loads must be considered together. Request a cross-section showing usable side height and a bed layout.
Can a tunnel be built without concrete foundations?
Some systems use ground anchors or driven posts, but still require adequate anchorage. The method and depth depend on soil, loads and the manufacturer’s design.
Can tunnels be used in snowy locations?
Only a design and operating plan appropriate to the site’s snow conditions can answer that. Roof shape or a claim of thick pipes cannot replace a documented load assessment.
Can you assemble a tunnel greenhouse yourself?
A prefabricated kit can be assembled as specified when the site and loads match its design. Get the frame and anchors assessed before changing dimensions, adding suspended loads or reusing a frame at a different site.
How is a tunnel greenhouse ventilated?
Roll-up sides and end openings provide paths for outside air. A ridge outlet can assist high-level exhaust when it is actually present. Screen resistance, opening size and local wind affect the air exchange.
Checklist before commissioning a tunnel
- Compare the installed frame, anchors and bracing with the drawings.
- Confirm that doors and side vents operate through their full travel.
- Check cover fixings and remove contact points that can tear the film.
- Test irrigation at the crop and walk the runoff route outside the tunnel.
- Record operating limits for severe weather and suspended equipment.
Sources and image credits
Technical references include University of Nebraska–Lincoln Extension, High Tunnels, EC308, on siting and frame design, Utah State University Extension, High Tunnels, on operating conditions and ventilation, and University of Vermont Extension Ag Engineering, A Guide to Preparing High Tunnels for Extreme Weather, on framing and anchorage.
Licensed photograph credits: Kattegattt, High sided Polytunnel.jpg, CC BY-SA 4.0; Dwight Burdette, Interior of a Hoop House on the Farm at Saint Joe's, Superior Township, Michigan.JPG, CC BY 3.0; Kattegattt, High sided Single Span Polytunnel.jpg, CC BY-SA 4.0.
Was this article helpful?


Comments and questions
Join the conversation without an account. Names are entered by visitors; only verified staff carry the administrator badge.
Loading…